Why People Convert a Tub to a Shower
A bathtub that rarely gets used takes up a lot of floor space. Swapping it for a walk-in shower makes a small bathroom feel bigger, makes it easier to step in and out (a big deal for anyone with limited mobility), and gives you a cleaner, more modern look. It is one of the most common bathroom remodel projects in the country.
The Short Version
1. Pick your shower type: a prefabricated shower kit or a custom tiled shower. 2. Shut off the water, then remove the tub surround and the tub. 3. Move or adapt the drain and valve for the shower. 4. Install a waterproof shower base (pan) and wall system. 5. Add the shower door or curtain, fixtures, and seal everything.
Step 1: Choose a Shower Kit or a Tiled Shower
Shower kits come with a base and wall panels sized to fit the old tub alcove (usually about 60 by 30 or 60 by 32 inches). They install faster, have fewer seams, and are the easiest route for a confident DIYer.
Tiled showers take longer and need careful waterproofing, but you can pick any tile, size and layout, add a bench or niche, and go curbless if the floor allows it.
Step 2: Remove the Tub and Surround
Turn off the water to the bathroom. Remove the faucet handles, spout and showerhead, then take off the surround (tile, panels or a one-piece unit) down to the studs. A fiberglass or acrylic tub can usually be cut into pieces or carried out whole. A cast iron tub weighs 300 to 400 pounds: either get several people to carry it out, or break it up with a sledgehammer while wearing eye protection and heavy gloves.
Step 3: Rework the Drain and Valve
A tub drain sits at one end, while most shower bases put the drain in the center or at one end with a different trap size. The valve and showerhead also move higher for a shower. This is plumbing work, and many cities require a permit and a licensed plumber for it. Check with your local building department before you start.
Step 4: Install the Base and Waterproof the Walls
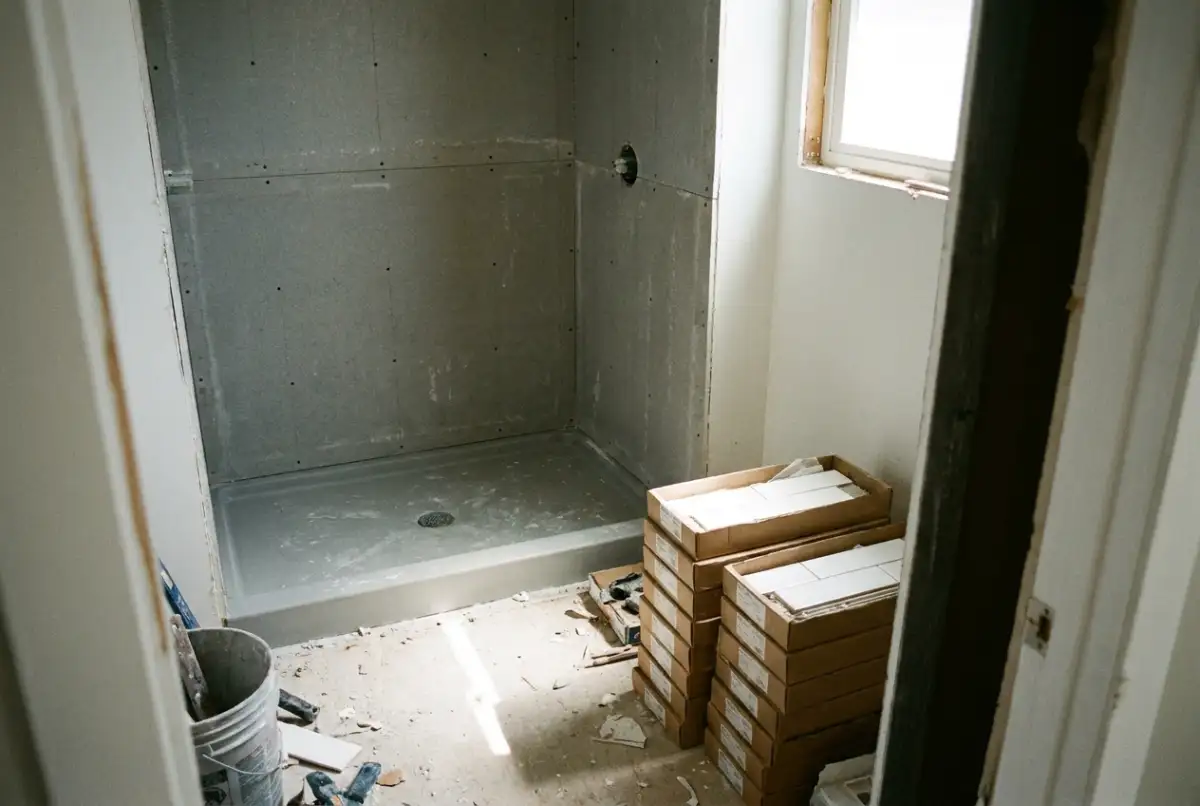
Set the shower base level on a mortar bed or the manufacturer's recommended setting material. For a tiled shower, install cement board or foam board, then a waterproofing membrane over every wall surface that will get wet. Skipping or rushing waterproofing is the most common cause of hidden leaks and mold.
Step 5: Finish the Walls, Door and Fixtures
Install the kit walls or tile, grout, and seal. Mount the trim, showerhead and handle, then the door or curtain rod. Let grout and caulk cure for the time on the label before the first shower.
What Comes Out (and Where It Goes)
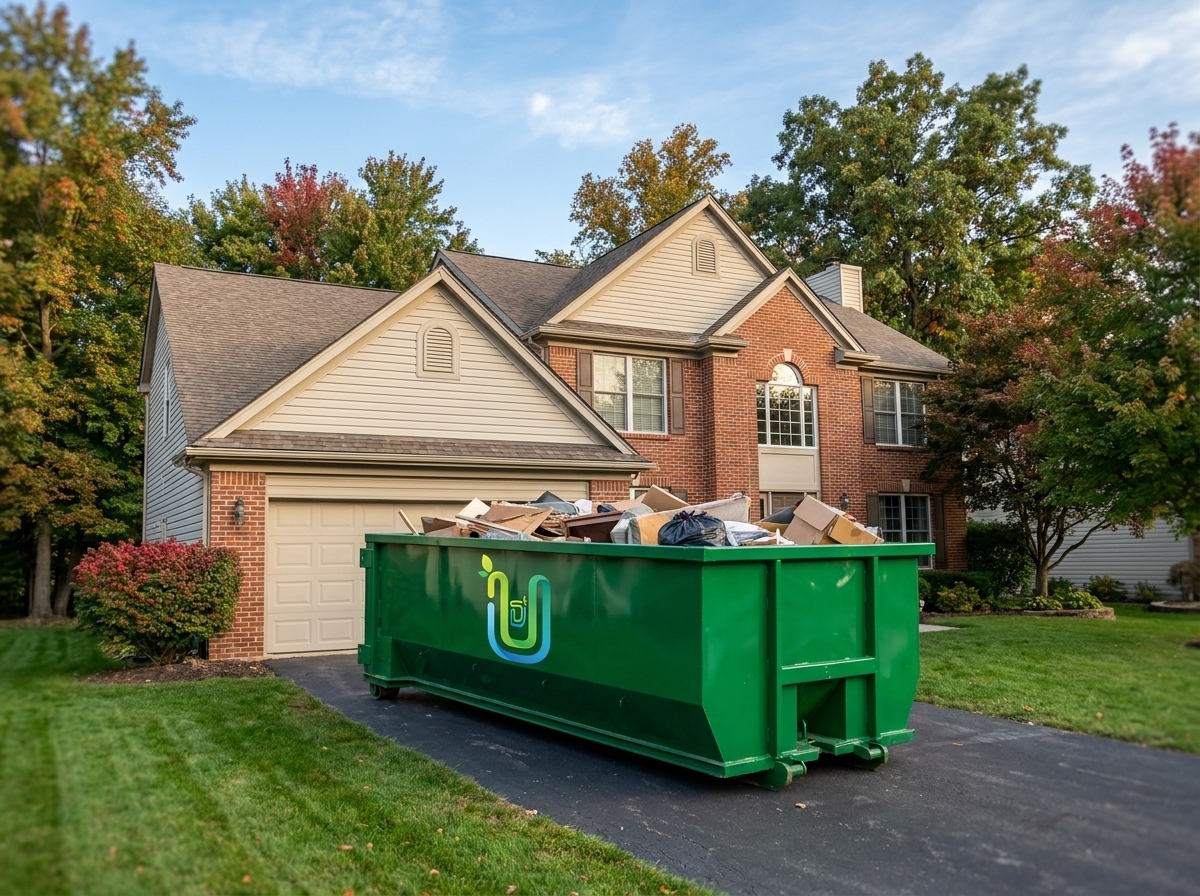
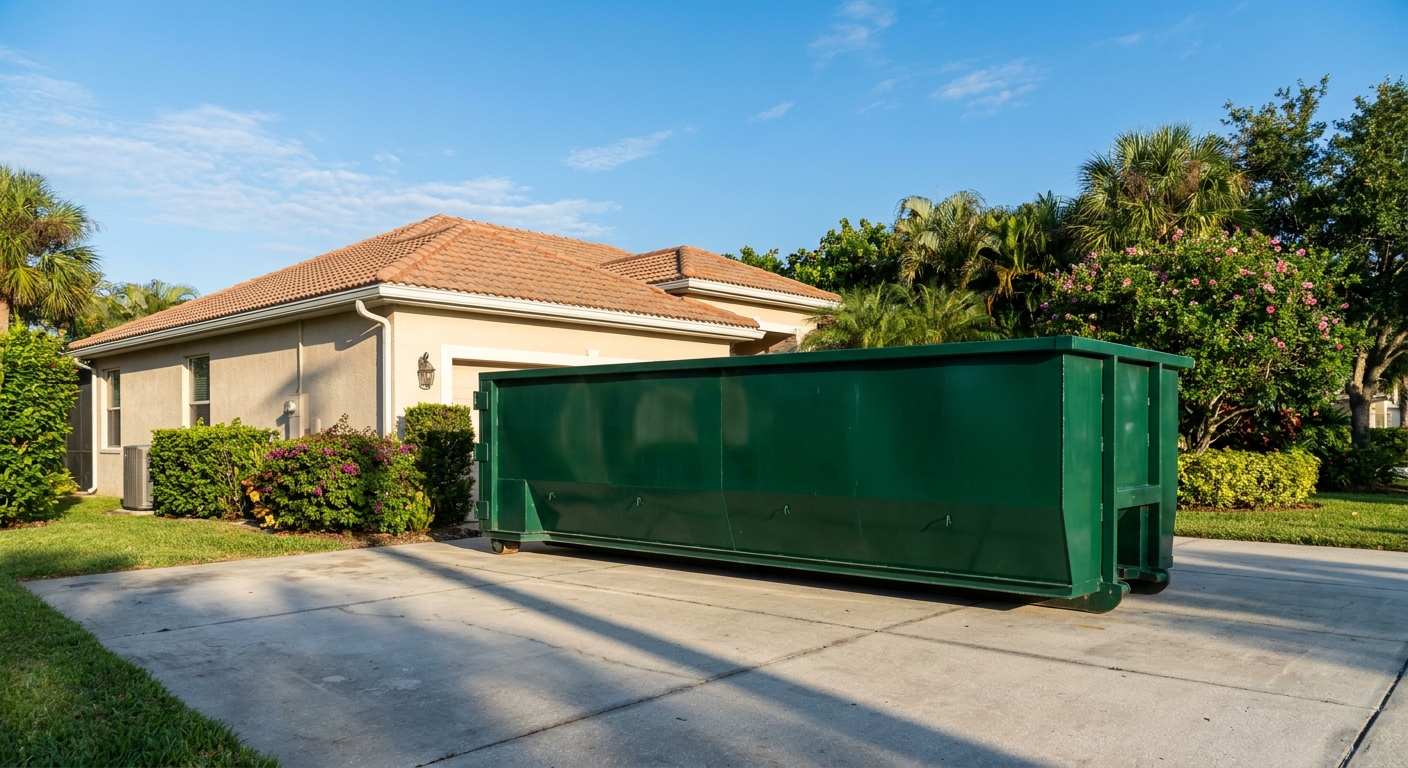
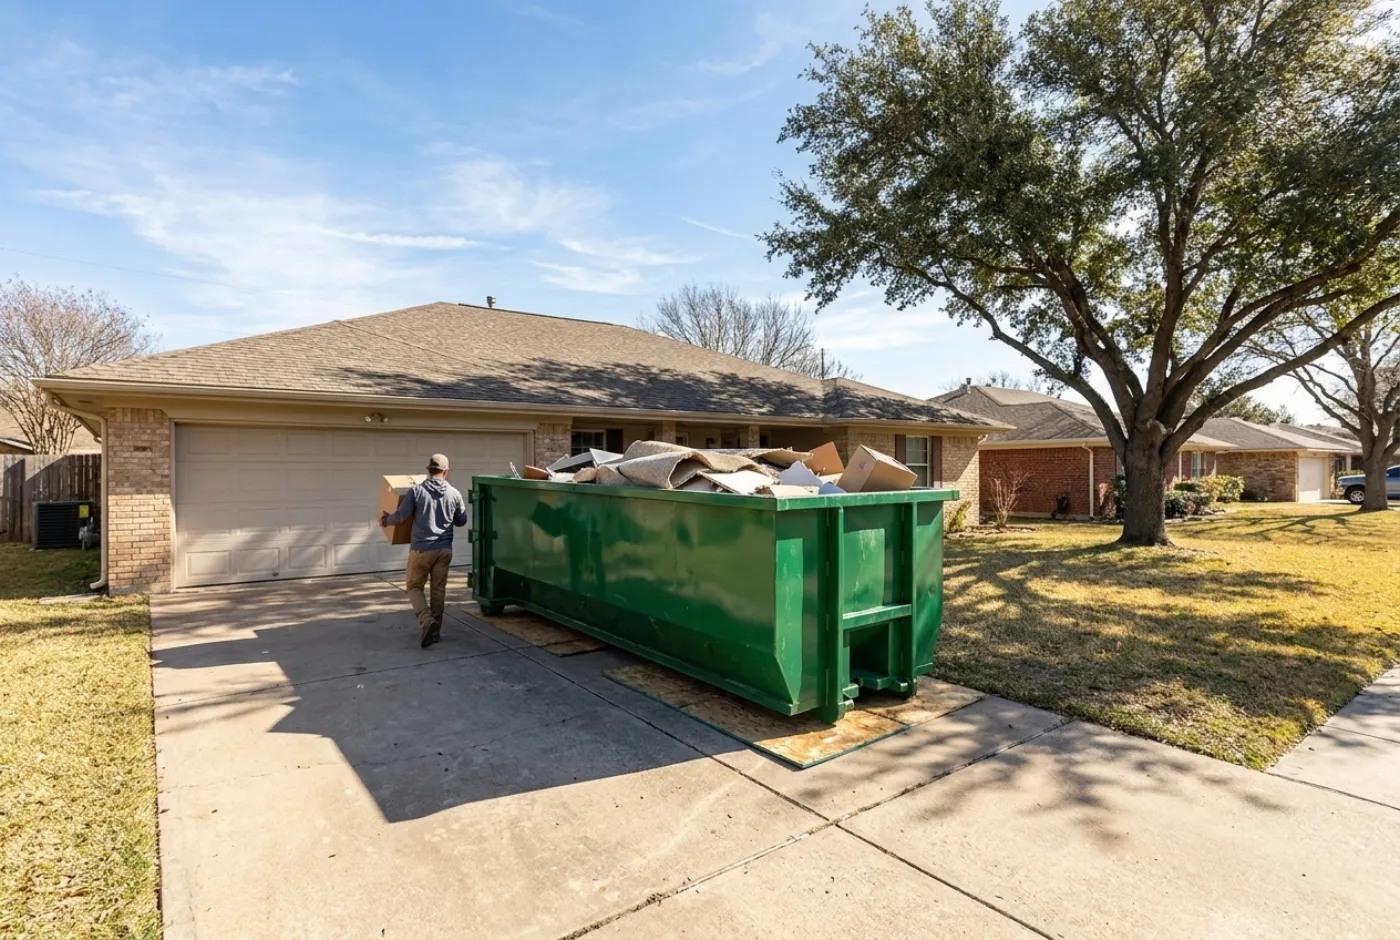
A tub to shower conversion produces heavy debris fast: the tub, tile, mortar, backer board, drywall and old fixtures. A full alcove tear-out often fills several pickup truck loads. A 10 yard dumpster usually covers it, and it is one all-in price from $495 with delivery, pickup and disposal included. See our [bathroom remodel dumpster guide](/blog/bathroom-remodel-dumpster-guide) for sizing by bathroom type.