Why a Checklist Makes All the Difference
Spring cleaning without a plan is like renovating without blueprints. You start with enthusiasm, bounce between rooms, revisit areas you already touched, and by Sunday afternoon you are exhausted with half the house still untouched. A room-by-room checklist gives your effort structure. It ensures you do not skip anything, keeps you moving forward, and provides the satisfaction of checking items off as you go.
This checklist covers every major area of a typical home. Not every task will apply to your space, but having the complete list means you can choose what matters and skip what does not. Pair this checklist with a dumpster rental for the items that need to go, and you can transform your home in a single weekend.
Kitchen
The kitchen accumulates more clutter and grime than any other room because it gets used multiple times a day. Start with the areas that get the least regular attention.
Cabinets and pantry. Pull everything out. Check expiration dates on canned goods, spices, baking supplies, and condiments. Anything expired goes in the trash. Items you purchased with good intentions but never use (the quinoa from 2023, the specialty flour): donate if unopened or toss if opened. Wipe down all shelves before putting items back.
Under the sink. This area collects cleaning products, trash bags, and random items that migrate there over time. Dispose of any cleaning products you no longer use. Consolidate duplicates. Check for leaks while the cabinet is empty.
Refrigerator and freezer. Empty completely. Toss anything expired, freezer-burned, or unidentifiable. Remove shelves and drawers and wash them in warm soapy water. Wipe down the interior walls and door seals. Vacuum the condenser coils on the back or bottom of the unit.
Appliances. Clean the oven interior, microwave, dishwasher (run an empty cycle with vinegar), and range hood filter. Descale the coffee maker. Pull the refrigerator away from the wall and clean the floor underneath.
Countertops and drawers. Clear the countertops completely and clean the surface. Sort through the junk drawer: recycle old menus, toss dead batteries (at a proper collection point), and organize what remains.
Bathrooms
Medicine cabinet. Dispose of expired medications through a drug take-back program. Toss expired sunscreen, old cosmetics, and products you no longer use. Wipe down the shelves and mirror.
Shower and tub. Scrub grout lines, treat any mildew, and clean the showerhead by soaking it in vinegar. Replace the shower curtain liner if it is discolored. Check caulk around the tub and shower for cracks or gaps.
Under the vanity. Pull everything out, discard old products, and organize what you keep. Clean the pipes and look for signs of leaking.
Towels and linens. Evaluate your towels and washcloths. Anything frayed, stained, or that no longer absorbs well should be replaced. Old towels can be donated to animal shelters.
Bedrooms
Closets. This is usually the biggest task in a bedroom. Remove everything and sort into keep, donate, and toss piles. A practical rule: if you have not worn it in 12 months and it is not a special occasion item, it should go. Vacuum the closet floor and wipe down shelves and rods.
Under the bed. Pull out anything stored under the bed. Vacuum thoroughly, including the mattress surface. Flip or rotate the mattress if applicable.
Nightstands and dressers. Empty each drawer, wipe it down, and return only what belongs. Toss old magazines, broken chargers, and random items that have accumulated.
Windows and blinds. Wipe down blinds or vacuum them with a brush attachment. Clean window glass inside and out. Wash curtains or vacuum drapes.
Living Areas
Furniture. Vacuum upholstered furniture, including under cushions. You will find crumbs, coins, and items you thought were lost forever. Treat any stains with appropriate upholstery cleaner. Dust and polish wood furniture.
Electronics. Dust behind and underneath the TV, entertainment center, and any other electronics. Untangle and organize cords. Recycle any electronics you no longer use: old remotes, dead speakers, cables for devices you no longer own.
Bookshelves and media. Pull everything off the shelves, dust them, and return only what you want to keep. Donate books you have read and will not read again. Recycle old DVDs, CDs, and magazines.
Walls and baseboards. Wipe down light switches and door handles. Dust baseboards and crown molding. Clean scuff marks off walls with a damp cloth or magic eraser.
Garage and Storage Areas
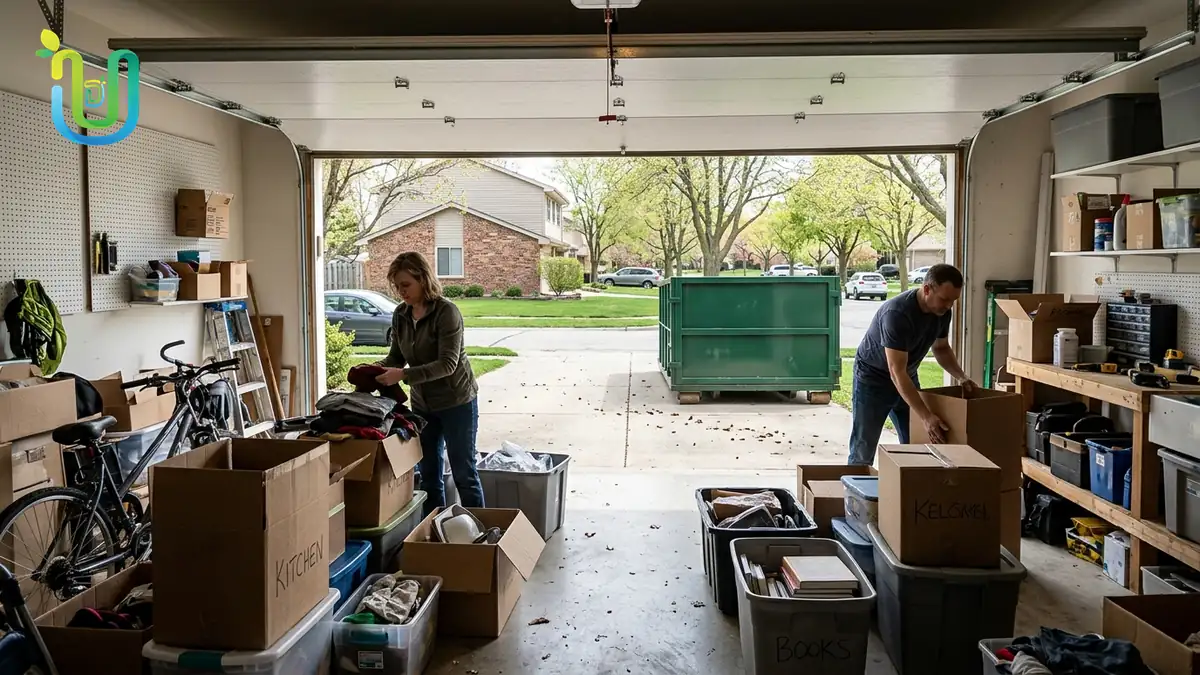
The garage is usually the most daunting area and the one that benefits most from a dumpster rental. Years of accumulated tools, materials, equipment, holiday decorations, and general overflow can make the space nearly unusable.
Sort aggressively. Create four zones: keep, donate, sell, and trash. Be honest about what you actually use. That exercise bike you bought in 2019 and never ride? Donate it. The leftover paint cans from three houses ago? Take them to hazardous waste collection. The broken furniture you have been meaning to fix for years? It goes in the dumpster.
Large items. Old furniture, broken appliances, outgrown toys, unused sporting equipment, and non-functional tools should go. These are the items that make a dumpster rental worthwhile: you cannot fit them in a trash bag, and you do not want to make six trips to the dump in your car.
Organize what stays. Once you have cleared the clutter, install shelving, pegboard, or wall-mounted storage to keep the remaining items organized and off the floor.
Outdoor Spaces
Patio and deck. Sweep or pressure wash the surface. Clean outdoor furniture. Remove dead potted plants and dispose of broken pots.
Yard. Rake up winter debris, trim dead branches, and clear out garden beds. Dispose of any old landscaping materials, broken planters, or garden tools that no longer function.
Shed. Apply the same sort-and-purge approach as the garage. Old garden chemicals should go to hazardous waste collection. Never pour them on the ground or into storm drains.
The Dumpster Rental Approach
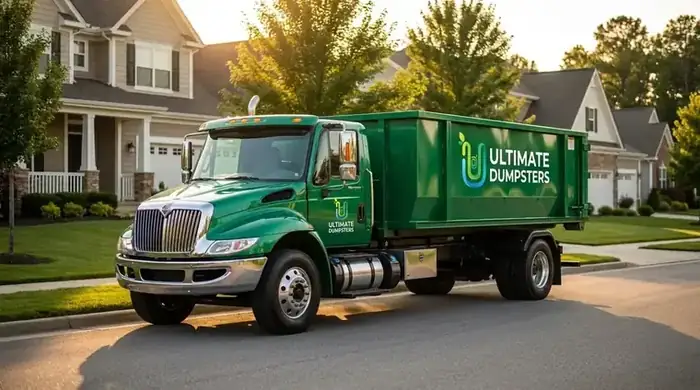
For a whole-house spring cleaning effort, a 10-yard or 15-yard dumpster is usually the right size. The 10-yard handles a typical decluttering project where you are getting rid of accumulated stuff. The 15-yard is better if you are also doing any minor renovation work: pulling up old carpet, removing a built-in shelf unit, or clearing out a packed garage.
Having a dumpster in your driveway removes the single biggest friction point in any cleanout: getting rid of the stuff. Instead of piling things in your car and driving to the dump, you walk it straight to the dumpster. This alone can cut the time a spring cleaning project takes in half.
Final Tips
Start early on a Saturday morning. Set a timer for each room: 60 to 90 minutes for major spaces, 30 minutes for smaller ones. Take breaks. Stay hydrated. Put on music or a podcast. And do not try to do the entire house in one day unless it is a small home. A focused two-day effort with a clear checklist is more effective than an exhausting marathon.
At Ultimate Dumpsters, spring is our busiest season for a reason. Homeowners across the country use our dumpsters to make spring cleaning faster, easier, and more thorough. Order online, get same-day or next-day delivery in most areas, and start clearing out the clutter.